

All about publishing tutorial of Clipping path in Photoshop
June 29 2019

photoshop image
Clipping path is closely connected with photo editing. It is a mandatory fact for many other types of editing.
Do you want to learn this awesome technique?
You have come to the perfect place. After reading this article, you can master the technique of Clipping Path in effective way.
Let’s get started.
At the very first, open the image that you want to edit.

I am going to show you with this this picture.
Before we start making path, zoom in the picture properly from this option.

Zoom will make the selection process easier.
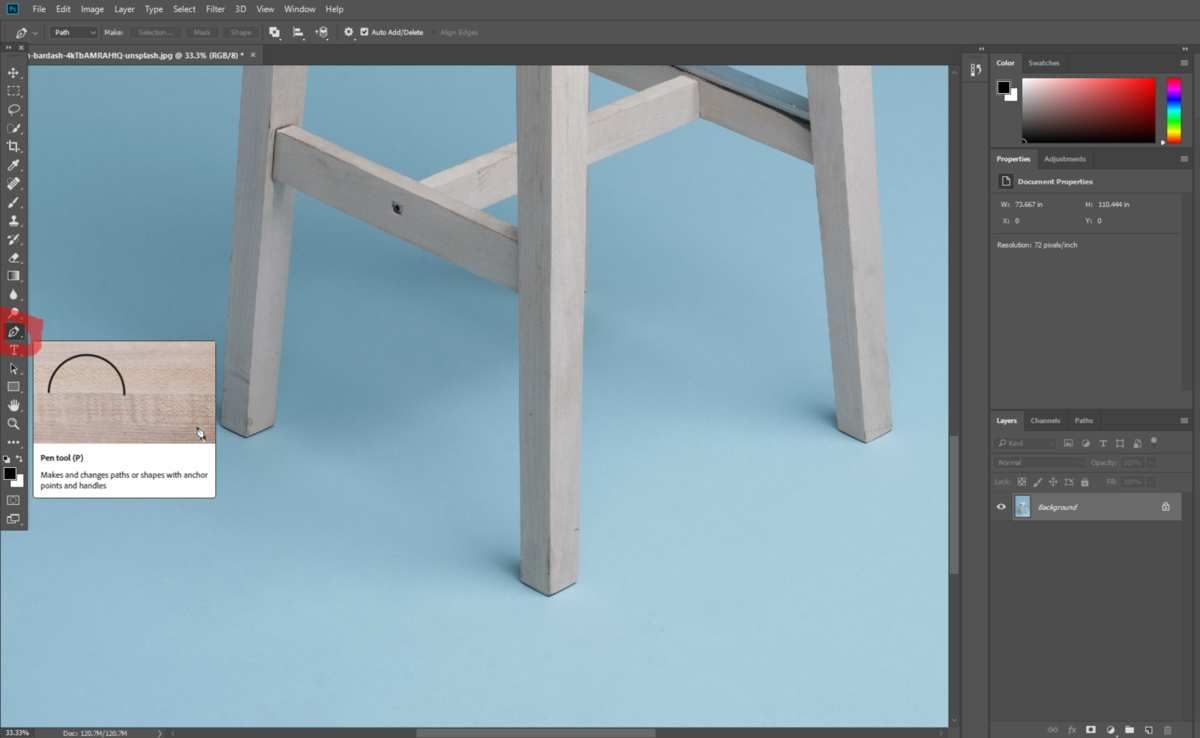
Then Choose Pen tool by clipping on this icon. Now you are ready to select the object. At this point try to start the selection process from the below.
It will help you to make the selection process a bit easier.

I am starting it from here. Don’t forget to stop exactly right there, from where you begin. Otherwise you may find something like that.

So, be careful about that. Spend some of your time and make the selection perfectly. After you select your primary selection process there will be some inner parts too.

How you can select them? To do this go to path option beside the layer option and start selecting the reaming inner parts.

When you complete your all selections, your image should look like that.

Look every part that not include to the object is being selected. Now, you have to go make selection window the layer option.

Go to layer, Right click on it and choose mark selection from there. And set the radius

Set the feather radius 2px. Increasing number will increase the possibilities to show extra edges if you don’t make the selection process nicely. It’s better to keep this number low.

After you choose make selection, the paths will look like that. Now
Have to inverse the selection by pressing key Ctrl + I
And press Ctrl + J to make the background transparent.
Then your image should look like that.

You have both the option in your hand to keep it in transparent background or pure white background.
Save your work and go to exports as option by clicking the right button.

Now choose image size, canvas size according to your requirement. If you want to save it a transparent background, the choose PNG format from the file format option that is at the top.
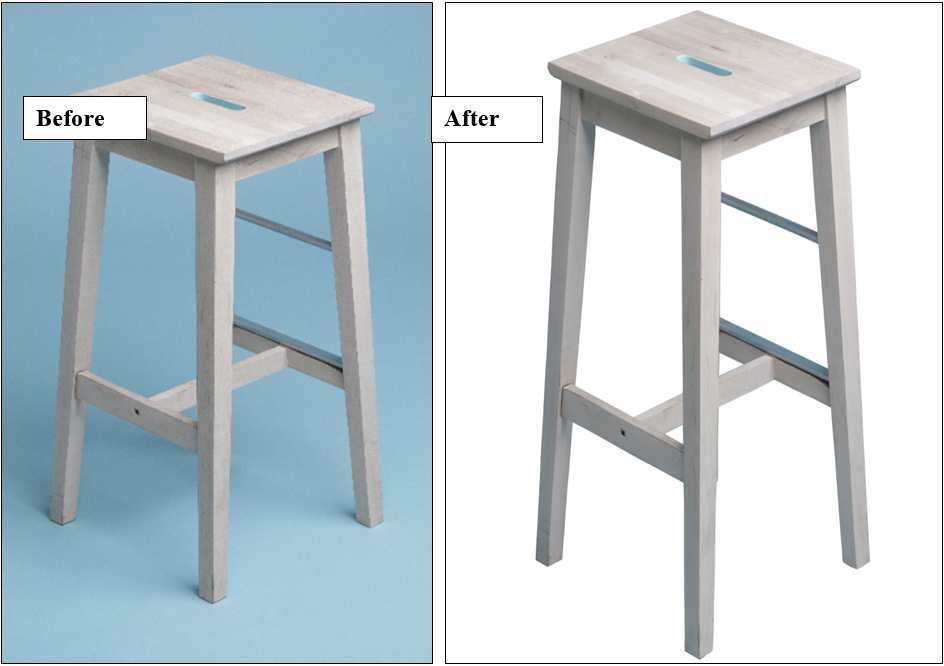
See the ultimate result. The same object is look much more attractive in white background. You can also apply the same technique for your E-commerce business product photo and attract customer towards it.
Thanks for reading.


/image%2F3450625%2F20191121%2Fob_d0a572_cosmetic-shadow-creation.jpg)